Hi there,
In this article, you'll discover the best exercises to perform on a pull-up bar, and you'll be ready to build a muscular body!
They'll help you target the different muscles of the upper body, such as: back, pecs, biceps, triceps and abs!
We'll take you through each of the 9 exercises in detail, with variations if they're too difficult to perform.
An exclusive surprise awaits you at the end of the article, so let's go ! 🔥
The best pull up bar exercises
Here's what you'll find in this article:
- Traction Pronation
- Traction Supination
- Dips
- Muscle-Up
- Front & Back Lever
- L-Sit & V-Sit
- Leg Surveys
Exercise N°1: Pull up
One of the key exercises for developing your back is the pronation pull. Emblematic of bodybuilding, it has numerous benefits.
It will target the latissimus dorsi muscles, and also emphasize the trapezius and forearm muscles (long supinator). Pronation traction involves palms facing outwards.
There are 2 ways of executing this movement: the wide socket and the tight grip. If you want to work the width of your back, you'll need a wide grip. Conversely, a tight grip allows you to target the anterior muscles of the back and thus gain thickness.
This pull-up bar exercise is ultra-complete but often poorly executed by practitioners, which slows progress and prevents the full benefits from being realized.
When performing this movement, remember to bring your elbows towards your back and not to the sides. It's also important to visualize the movement and the muscles involved, so that you have a clear idea of what you're doing. better grip and optimize results.
Here are 2 variations of this exercise to help you in your quest for your first pull-ups if they're still too difficult for you.
Variation: Pull up + Elastic Bands
An excellent way to progress and push
yourself to the
limit is to use
elastic bands. They allow you to
lighten up, making it
easier to practice this exercise.
You can even use several bungee cords at the same time to build up a high level of resistance. Whether you're a novice or an intermediate, this is the exercise for you!
-
Novice: the elastic bands will enable you to do your first pull-ups and understand the mechanics of movement.
-
Intermediates: once the bodyweight has become too difficult, you can lighten up to complete your final repetitions.
Variation: Australian Pull up
Australian pull-ups are excellent for building back muscles!
With your feet on the ground, the exercise is less difficult. You'll be able to do a series of sets and repetitions, and start building a strong, aesthetic back.
This exercise is also recommended if you don't have elastic bands and bodyweight pull-ups are becoming difficult to link together.
Exercise 2: Chin up
Supination pull-ups target the biceps and the dorsalis major. Unlike the pronated grip, the supinated grip involves placing the palms of your hands towards you.
For this exercise, we advise you to place your hands on the bar at shoulder-width apart and pull until your chin is level with the pull-up bar.
You should then control the descent until you return to the bottom position with your arms almost straight. If the execution is too difficult, you canlighten up with elastic bands, as you did with the pronation grip. If it becomes too easy, you can use a weight belt or weighted vest.
Exercise 3: Dips on a pull up bar
Dips can also be performed, but you will need to be able to do them.
adjustable drawbar or has a
dips variation.

This exercise will target
tricepsthe
shoulders and the
lower pectorals. It is functional and considered to be one of the world's leading
best exercises Street Workout to gain
force in
power and in
muscle.
Here are the steps to perfect dips:
- Extend arms to 99% (do not overextend to avoid joint injury).
- Turn elbows inwards.
- Have a sheathed body.
- Go down to 90 degrees, then back up.
- Keep your elbows at your sides, not outwards.
- Don't use your knees to pull yourself up (that's cheating!).
- Inhale on descent and exhale on ascent.
The positioning of your body will have an impact on the targeted muscle group:
- Vertical dips: triceps
- Bent dips: pectorals
- Straight dips slightly forward: shoulders
Variation Dips N°1 : Feet on the ground
Bodyweight dips can be a tricky exercise at first, so to make it easier for you to learn, we advise you to start with your feet on the ground.
To perform this exercise correctly, you'll need to straighten your legs, lower your arms to a 90° angle and then raise them. Your upper body should be straight, and your torso should be arched.
You'll gradually start to progress, and once you've achieved a dozen repetitions with ease, you'll be able to move on to the next level: dips with elastic bands.
Variation Dips N°2: Elastic bands
With the help of the elastic bands, your technique will become perfect as you focus on the movement. You'll be able to lighten up with 3, 2 or 1 elastic band.
Choose the level of tension best suited to your level!
To make the most of this assistance, place the elastic band on the bar and put your feet on it. Then follow the same movement as above.
The aim is to be able to string together sets of about ten repetitions. Once you've done that, you'll be ready to do bodyweight dips without any help!
Exercise N°4 Pull up bar: Muscle Up
Who hasn't dreamed of performing this iconic Street Workout?
A figure that seems very difficult at first glance, but with a little time and practice is totally accessible. We're going to take you through the various stages to achieve the perfect muscle-up! Before that, we recommend that you perform a dozen pull-ups and dips.
Step 1: Balancing
Having a good balance will help you lay all the right foundations so that you can then explode upwards.
Step 2: The jump
Before starting the ascent, once the swing has begun, reach as far as you can with your feet in front of you, body straight and arms outstretched.
That's when you have to pull as hard as you can.
Stage 3: The climb
The aim is to wrap yourself around the bar. To do this, pull hard with your arms, but don't pull like a vertical pull, as you'll want to move the bar away from your body.
Once past the head, you'll need to start wrapping around the bar.
Step 4: The dips
At this point, 90% of the work is done! All that's left is to push so that your arms are straight.
Tips: as with pull-ups, you can use elastic bands to lighten your body and get the movement into your head.
Exercise 5 & 6: Front & back Back Lever
Other street workout icons are the front lever and the back lever are in our top 9 best exercises to perform on a pull-up bar.
Here are the steps to success front Lever :
Step 1: Position your hands correctly
Hands should be slightly tighter than shoulder-width apart, in a "strong grip" position.
Once this has been achieved, you'll need to pull the bar outwards and downwards simultaneously.
Step 2: Create variations
Successful Front lever involve intermediate steps such as the Tuck Front Lever, Semi Front Lever or single-leg Tuck Lever.
It's the best way to understand the mechanics of this movement.
Step 3: Using a rubber band
Once you' ve mastered the variations, it's time to move on to the elastic bands. They'll help you keep your balance, and need to be placed at hip level.
When you reach the 10-second Front Lever with the elastic bands, it's time to take them off and try to hold on for as long as possible!
Let's move on to the Back Lever :
Here are the different steps to succeed in this street workout figure:
Step 1: Hanging from a bar
We advise you to be able to hold on to a bar for at least 30 seconds, as your grip will be important in performing this figure. That's why you'll need to practice hanging before starting this exercise.
Step 2: Knee raises
About ten knee-to-head raises are recommended, as we're going to want to transverse our body. So this is an intermediate stage.
Step 3: Skin the cat
Take your time with this trick; it may look dangerous, but with a good warm-up and practice, it will hold no secrets for you.
Step 4: Skin the cat with bent legs
In skin the cat position, bend your legs and contract your abdominal chain. Hold for as long as possible.
Step 5: Back Lever negative
Fifth and last step, start in the inverted position, i.e. head down and legs up. You'll then have to descend very slowly to stabilize yourself in the back lever position.
Repeat this step as many times as possible and try to hold the horizontal position for as long as possible.
Tips: to simplify this exercise, you can use an elastic band, as for the front lever.
Exercise 7 & 8: L-Sit & V-Sit
These 2 exercises will give you rock-hard abs!
As their name suggests, they involve L- and V-shaped positioning of the legs and upper body.
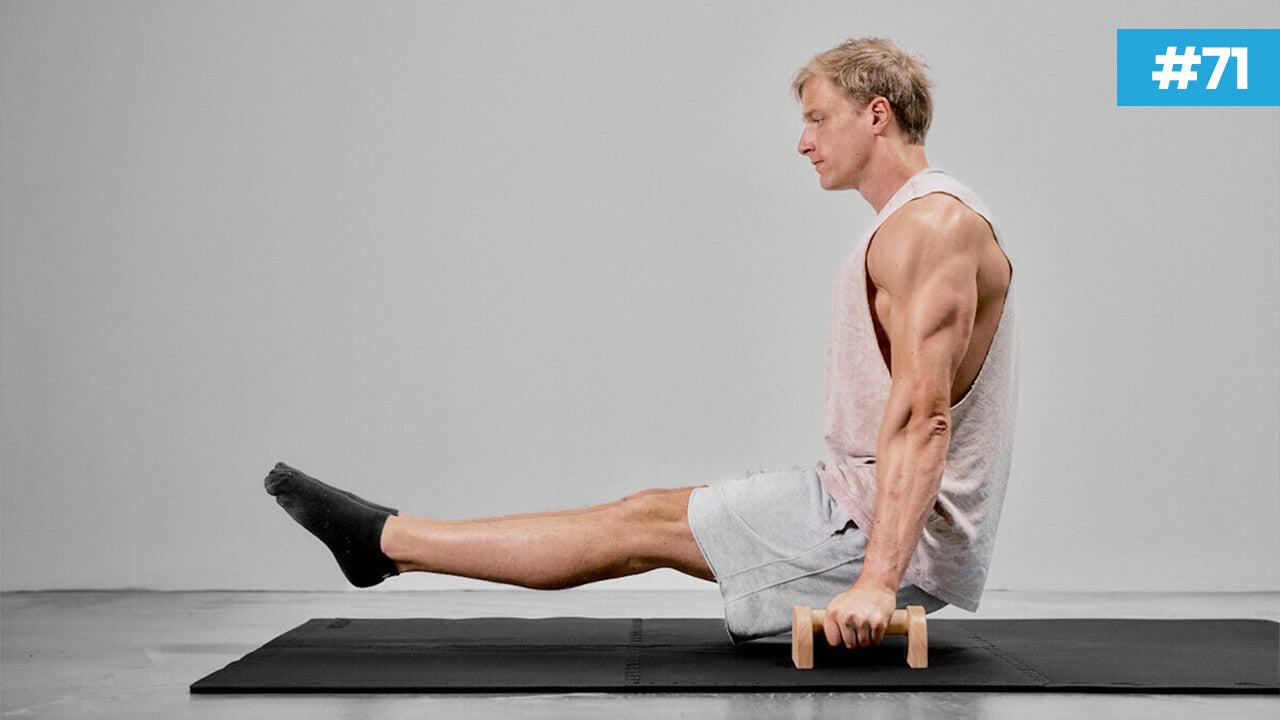
L-Sit 👆
V-Sit 👆
They involve the abdominal girdle, the obliques, the quadriceps and the hip flexors.
You can use the following variations if these positions are too difficult to hold:
- On the ground
- One-legged
- Elastic band
Exercise 9: Leg raises
To continue in the "abs made of concrete" category, one of the most effective exercises is the barbell leg raise.
Here are the steps to follow in order to work your abs effectively:
- With your arms and legs straight, raise your legs into the L-Sit position.
- Don't swing, just move the lower part of your body.
- Stay 1 second and L-Sit then control the descent.
- Inhale on the way up and exhale on the way down.
These 9 exercises will give you a strong, muscular upper body. The exercises presented are ultra-complete and allow you to work efficiently.
Which pull up bar to choose?
Our free-standing pull-up bar:
Adjustable in height from 1.05 m to 2.10 m in 5 cm increments, it can support up to 300 kg.
Sturdy, stable and wall-mounted, it allows great freedom of movement and an incalculable number of exercises. Ideal for modular home gyms!
Our wall-mounted pull-up bar:
Firmly attached to the wall, it is ultra-compact and can be used for both pull-ups and dips, thanks to a position-change system that takes less than 5 seconds.
The perfect solution for maximizing the use of space, while retaining robustness and versatility.
Whichever you choose, you'll have a reliable, durable tool for making effective progress at home!
Bonus: Pull-up bar routine
Here's an exclusive routine to put the various exercises into practice. You'll find variations if the exercises are too easy or too difficult.
All you have to do is give it your all! 💪
If you need
Bodybuilding and
Street Workout equipment, we've got everything you need in our store!
I hope you've enjoyed this article and that it motivates you to give it your all!
See you soon!
Eric Flag.


1 comentario
Very good exercise, I like it, you can give me a help for this high bar at my age 56 years.
Elkebir
Dejar un comentario
Este sitio está protegido por hCaptcha y se aplican la Política de privacidad de hCaptcha y los Términos del servicio.