L-sit: the ultimate callisthenic exercise for a concrete body shape
The L-sit is a highly effective callisthenic exercise for strengthening the abdominal muscles. But that's not all: it also leads to deep sheathing, increased body control and impressive aesthetics.
👉 In this article, you'll discover how to succeed in your L-sit, the muscles involved, the stages of progression and the mistakes to avoid to progress faster.
Let's go 🔥
What is L-sit?

The L-sit is an isometric exercise that consists of maintaining a seated position, legs stretched out in front of you, while supporting your body weight solely with your arms. It can be performed on the floor, on parallettes (for greater comfort), on a bar, or between two supports.
This position forms a perfect "L" between the trunk and the legs, hence the name: L-sit.
It mainly involves the abdominals, hip flexors, triceps, shoulders, quadriceps and psoas. It's a versatile exercise that strengthens the core while mobilizing the anterior chain.
Why include it in your training?
Working with L-sit is not just a technical challenge. It's a way of :
-
Improve your sheathing in a dynamic and functional way
-
Strengthen your core without equipment
-
Increase your body control
-
Developing a solid six-pack
-
Prepare other figures such as the V-sit, plank or front lever.
The benefits are as much aesthetic as functional. The L-sit is a cornerstone of any serious calisthenics program.
How do you move towards L-sit?
Mastering L-sit requires patience, specific reinforcement and well-thought-out progressions. Here are the main steps to follow.
1. The tuck sit
In this basic position, the knees are bent against the chest. This allows you to familiarize yourself with the sensation of elevating your body, and to activate your core muscles without having to manage the weight of your outstretched legs.
2. Advanced tuck
Same general posture, but this time the knees are a little further away from the torso. This increasesleverage and therefore difficulty. This is an excellent intermediate step.
3. One leg straight
Here, we alternate between a straight leg and a bent leg. This gradually accustoms the hip flexors and abdominals to withstanding the tension.
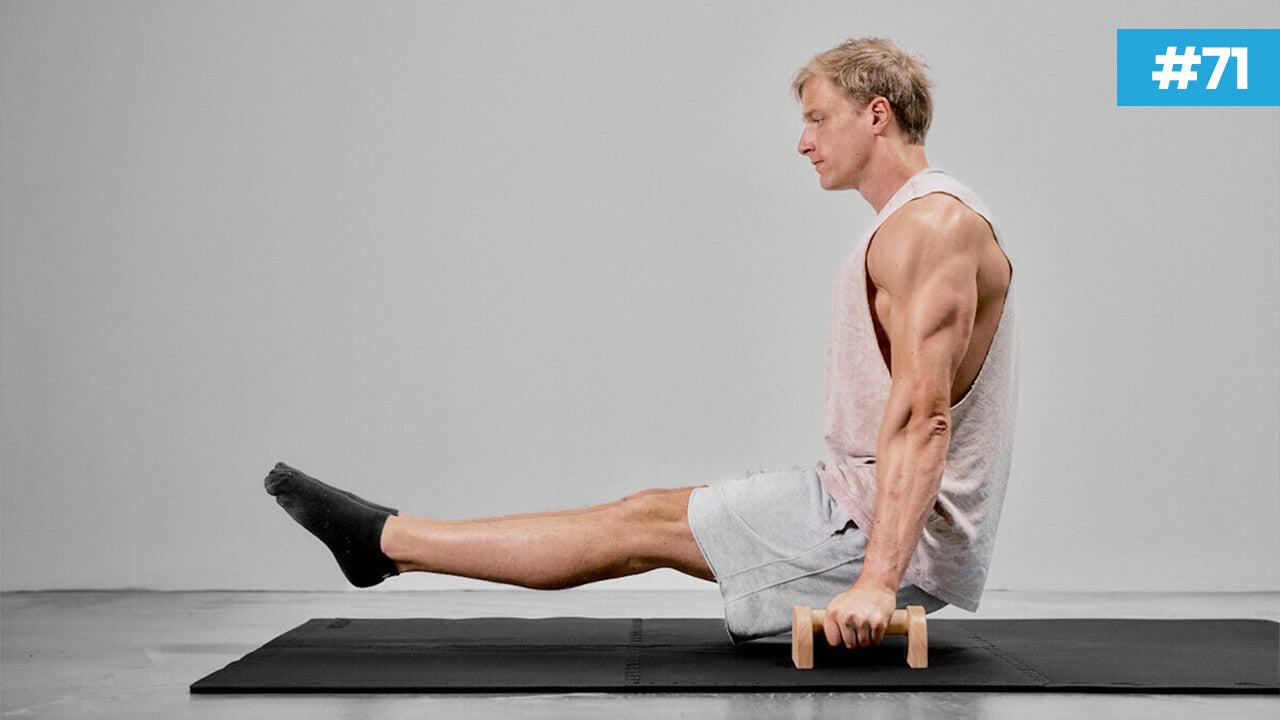
4. The complete L-sit
Finally, both legs are extended, parallel to the ground. You need to contract your quadriceps strongly to maintain the position. You're now on a true L-sit.
Each step must be mastered before moving on to the next. The key is consistency and patience.
Our top tips for success
To execute a clean and stable L-sit, some tips can really make a difference:
First, think of actively pushing into the ground (or parallettes) to engage the shoulders and stabilize the posture. Next, contract your thighs as much as possible: limp legs won't last long in the air. Keep your gaze forward, not down at your feet, to avoid arching your back. Finally, keep your chest up and your shoulders down.
What should L-sit be performed on?

L-sit can be practiced in a variety of contexts, depending on your level and the equipment available:
-
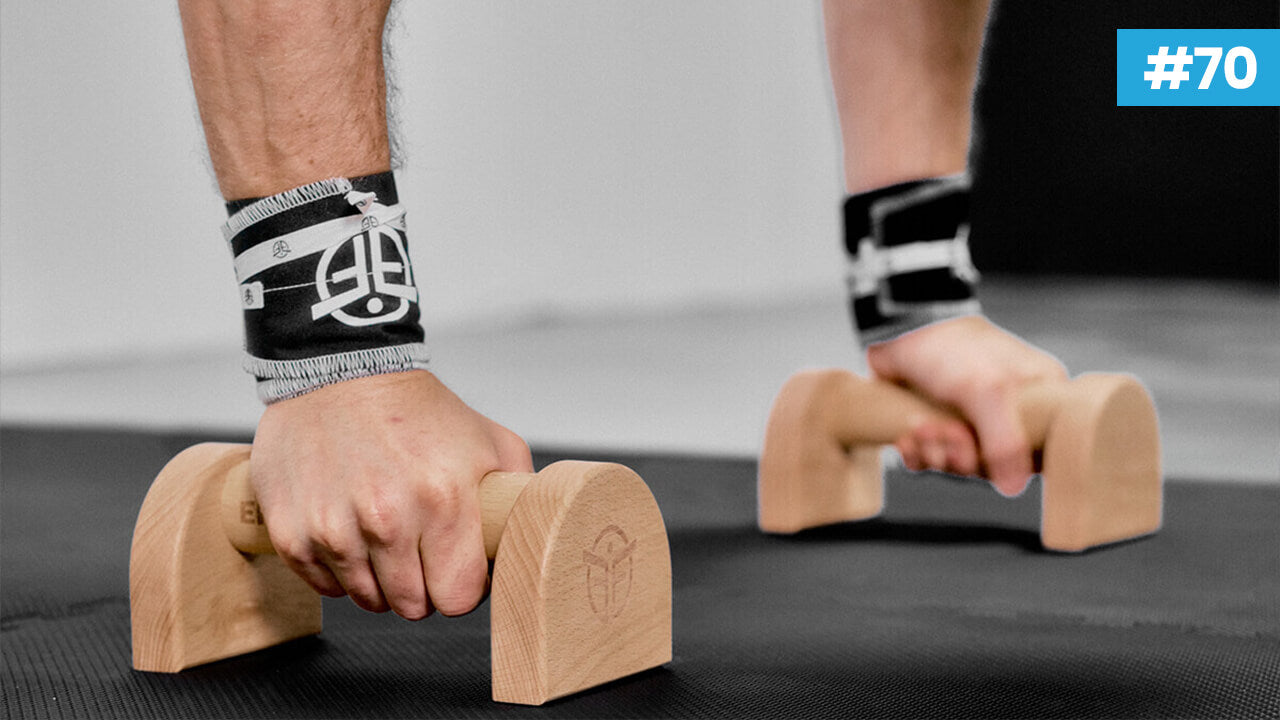
On rollers: easier on the wrists and greater amplitude
-
On the ground: more difficult because of the high compression required
-
Between two benches or stable supports
-
On a wall-mounted pull-up bar (accentuated hip flexor work)
The difficulty of the exercise is strongly influenced by the medium chosen.
Common mistakes to avoid
Even advanced practitioners sometimes make these mistakes, which limit progress:
-
Bend your legs to "facilitate" the exercise
-
Raise shoulders towards ears (instead of lowering them)
-
Rounding the back
-
Let all the weight rest on the triceps without engaging the trunk
Correct these points to unlock the full potential of your L-sit.
Variants to go further
Once you've mastered the classic L-sit, you can explore more advanced variants to keep progressing:
-
The L-sit to handstand for big, explosive work
-
V-sit for even more flexibility and compression
-
The L-sit on the high bar (in suspension)
These variations offer new challenges for strengthening the whole body.
Integrating L-sit into your program
You can easily integrate the L-sit into your weekly workout. Here are a few ideas:
-
At the end of warm-up to activate the trunk
-
Superset with pull-ups, dips or push-ups
-
Static work (3x15-30 seconds)
Ideally, practice 2 or 3 times a week for steady progress.
Why is L-sit a must-have?
The L-sit ticks all the boxes:
-
Overall strengthening of the abdominal muscles ✅
-
Accessible with little or no equipment ✅
-
Aesthetics and technology ✅
-
Perfect for progressing to other figures ✅
➡️ Add the L-sit to your training and you'll see a marked improvement in your posture, abdominal strength and body control.
In conclusion: an exercise as demanding as it is rewarding
Mastering the L-sit takes time, targeted strengthening and a healthy dose of perseverance. But the results are well worth the effort: sheathing that's foolproof, aesthetically enhanced, and a solid foundation for all callisthenics.
I hope you enjoyed this article!
If you did, don't hesitate to comment and share it 💪
See you soon.
Eric Flag.

Leave a comment
This site is protected by hCaptcha, and hCaptcha's Privacy Policy and Terms of Service apply.