How to master the Back Lever?
The Back lever is an advanced Street Workout move where you hold yourself horizontally, suspended from a bar or rings, with your chest facing the ground, unlike the Front lever.
This move is one of the three fundamental lever exercises in calisthenics, alongside the Front lever and the Planche.

Straddle Planche (⬆️) & Back lever (⬇️)
By adding the Back lever to your training routine, you'll get several benefits:
- Boost your strength
- Improved joint mobility
- Muscle gain
Back lever fundamentals

The Back lever is an exercise that requires excellent body and muscle control. To do it correctly and safely, it's super important to understand its fundamental principles.
In this article, we'll cover:
- The muscles involved
- Why technique and positioning are key
- Physical prerequisites
- A step-by-step guide to mastering the Back lever.
- Tips and mistakes to avoid
Muscles worked
The Back lever works several muscle groups, especially in your upper body.
Here are the main muscles involved:
- The shoulders
- Your back
- Your abs
- Your glutes
- Your forearms
So, the Back lever is a compound exercise that needs a proper warm-up and a post-workout stretching session to prevent any injuries.
The Importance of Technique and Position
Nailing the back lever isn't just about how strong you are; it also really needs the right technique and position.


Here are the key things you need to master:
- Scapular protraction: Push your shoulders forward and down to create tension in your back and help keep your body straight.
- Shoulder extension: Open up your shoulders as much as you can for better stability and to avoid any joint pain.
- Abdominal and glute contraction: Contract your abs and squeeze your glutes to keep your back straight and avoid arching too much.
- Body alignment: Stretch your legs straight back to balance your weight evenly.
- Breathing: Take calm, deep breaths.
Physical Requirements
You absolutely need a good level of strength and balance to nail the back lever.
Here's what you'll need:
-
The strength : Be able to hang on a bar for at least 30 seconds, do 10 knee raises, 10 knee-to-head raises, and 8 to 10 skin the cat. These moves get your upper body muscles ready for hanging.

Skin the cat
- Flexibility: You'll need good mobility in your shoulders and hamstrings, which you can build with shoulder rotations, bridges, and forward bends to help prevent injuries.
If you meet these conditions, you'll tackle the back lever with way more confidence and safety, leading to quick and effective progress!
Mastering the Back Lever: Your Step-by-Step Guide
The back lever is a tough move that you learn through steps that get harder and harder. Here they are:
1 - Start with the Tuck Back Lever

The tuck back lever is where you start your journey to master the back lever. You hang horizontally from a bar with your knees bent and tucked into your chest.
This position makes the leverage easier, so the exercise isn't as hard.
Here's how to do the tuck back lever:
1 - Grab the bar with an overhand grip (palms facing away from you) and straighten your arms.
2 - Get into a Skin the Cat position and keep your knees tucked close to your chest.
3 - Slowly lower your body until you're horizontal, using your shoulders and back to control the movement.
4 - Hold this position for as long as you can, breathing calmly and keeping your muscles engaged. Try to aim for at least 10 seconds.
5 - Reverse the movement to get back to where you started.
Practicing the tuck back lever regularly, and slowly increasing how long you hold it and how many reps you do, is super important.
2 - Move on to the Straddle and Full Back Lever
Once you've nailed the tuck back lever, the next step is to slowly straighten your legs, which makes it harder.
We'll check out a new in-between position before finally getting to the full move.
The Straddle Back Lever: This variation involves spreading your legs outwards while keeping your body in a horizontal position, which helps with balance by distributing your body weight.

To achieve this, perform the movement similarly to the tuck version, but instead of bringing your knees towards your chest, you extend your legs outwards. Practice holding this position for as long as possible!
The Full Back Lever: The final form of the back lever requires fully extended legs aligned with your arms. Follow the same steps as the tuck back lever but extend your legs backwards.
Hold this position for as long as you can.
Patience and perseverance are essential for progressing through intermediate positions like the tuck back lever, one leg back lever, or straddle back lever.
3 - Additional exercises to strengthen key muscles
Using an elastic band to lighten your load is very effective and allows you to start getting a feel for the correct movement:

Performing additional exercises helps strengthen the muscles involved in this move. They help improve strength, flexibility, and muscular endurance.
Here are some recommended exercises to complement your back lever training:
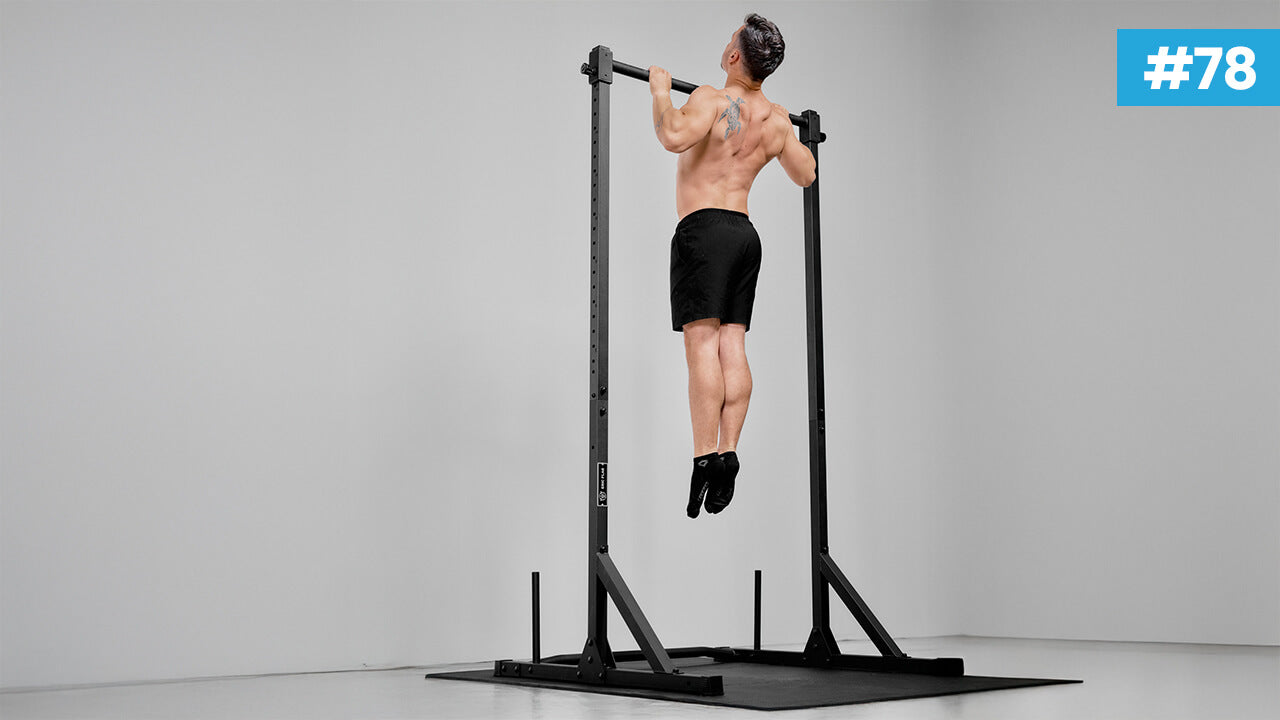
- Pull-up: Strengthens your shoulders, back, and forearms.
- Dips: Target the shoulders, chest, and triceps.
- Skin the cat: Improves shoulder flexibility and joint mobility.
- Plank: Improves body stability.
- Pike push-up: Strengthens shoulder extension and arm strength.
Integrating these additional exercises into your program will improve your performance and progression in the back lever. Additionally, they help prevent injuries and muscle imbalances.
Practical tips and common mistakes
Mastering the back lever requires discipline and consistency. This involves following basic principles, progressing at your own pace, and adjusting your training to your personal needs.
Mistakes to avoid during execution ❌
To prevent injuries and optimize the effectiveness of the back lever, here are the mistakes to avoid:
- Bending your arms: This puts unnecessary strain on your biceps and elbows.
- Arching your back: This can cause hyperextension of the spine and overload the lower back.
- Closing your shoulders: This increases the risk of injury.
- Relaxing your body: This leads to a loss of stability, making the exercise more difficult.
- Irregular breathing: This can disrupt concentration and reduce muscle oxygenation.
By avoiding these mistakes, you will improve not only your safety but also the effectiveness and aesthetics of your back lever.
Training strategies: frequency, intensity, and volume ✅
Planning your workout is crucial for balancing frequency, intensity, and volume. Here's how:
- Frequency: Aim for 2 to 3 sessions a week, making sure to include rest days in between for optimal recovery.
- Intensity: Aim for 70 to 80% of your max capacity, using variations you can hold for at least 5 seconds.
- Volume: Go for 3 to 5 sets of 10 to 15 seconds per variation, with 2 minutes of rest between each set.
Conclusion
The back lever is more than just a calisthenics exercise; it's a complete way to build your strength, boost your flexibility, and perfect your body control.
Nailing the back lever comes down to these key steps:
- Understand the fundamentals of the back lever.
- Start with position variations, from tuck to full back lever, and add in complementary exercises to strengthen key muscles.
- Avoid common mistakes, stick to your training schedule, and focus on proper execution of the movement.
The most important thing is to have motivation and patience. This street workout move takes time and perseverance ⏳
It's super important to have fun and enjoy doing this exercise, which is both a challenge and really satisfying.
I hope you enjoyed this article 💪
Feel free to leave a comment if you did.
See you soon!
Eric Flag.

2 comments
I loved the info, it's really well-written and super easy to understand. I've been doing this exercise for ages but had no clue what it was called or its progressions. Knowing all this helped me a ton, thanks so much Eric!
Tomás
Hi, I'm 44 and I've been doing calisthenics for 2 years. I nailed the back lever after 14 months of serious discipline and hard work (before, I couldn't even flip on the rings, haha). Just wanted to share that I got it by slowly lowering, degree by degree, in the negative, and with control from the start, keeping my feet together. I did start with turns, but not with open or bent legs; I felt better lowering in a tucked and straight position. Now I'm almost there with the front lever. Calisthenics has totally changed my body; this discipline is incredible, I really hope more women my age give it a try. It's tough, takes a lot of effort, adaptation, you get muscle knots and calluses, but it truly transforms you, both physically and mentally. THANKS. Monika Cwen
Monika
Leave a comment
This site is protected by hCaptcha, and hCaptcha's Privacy Policy and Terms of Service apply.