

How Can You Master the One-Arm Handstand
The One-Arm Handstand is one of the most impressive bodyweight moves.
Just one hand on the ground, the whole body balanced—no room for error.
👉 But contrary to what you might think, it’s not just a matter of strength. To do it successfully, you need to master weight transfer, alignment, and control above all else.
In this article, you'll learn the key steps to progressing effectively toward your first one-arm Handstand.
What is the One-Arm Handstand

The One-Arm Handstand involves balancing on a single hand, with the arm extended, and the entire body aligned above the support.
Unlike the Handstand , you can no longer distribute your weight across both hands.
It all comes down to a single point of contact.
That's what makes this move so challenging.
To achieve this, you need to master:
-
Shoulder Strength
-
Core strength
-
Weight Transfer
-
Wrist Mobility
-
Stability of the supporting hand
👉 The real challenge isn't just raising a hand. It's staying steady once it's no longer there.
Prerequisites Before You Begin

Before working on the one-arm Handstand, you need to already have a Handstand .
Ideally, you should be able to:
-
Hold a wall Handstand for 60 seconds
-
Hold a Handstand 60 seconds
-
Control your exits from the Handstand
-
Shift your weight slightly from one hand to the other
-
Keep your arms straight and your shoulders engaged
👉 If your Handstand is still wobbly, work on this foundation first. You'll make much faster progress afterward.
Why Is the One-Arm Handstand So Difficult?
The One-Arm Handstand is difficult because it requires you to control several things at once.
When you shift onto one hand, your body naturally tends to:
-
Turn
-
Collapse into the supporting shoulder
-
Move to the side
-
Lose alignment
-
Compensate with the pelvis
👉 That’s why you have to move forward gradually.
The movement is built first through control, not brute force.
The Ideal Position
To master the one-arm Handstand, proper form is essential.
Here are the key points to keep in mind:
-
Support hand firmly planted on the ground
-
Fingers spread apart
-
Arm fully extended
-
Shoulder pushed toward the ear
-
The pelvis is slightly shifted above the supporting hand
-
Sheathed body
👉 Your center of gravity should gradually shift so that it’s directly above your supporting hand.
It’s this shift that allows you to maintain your balance—not simply the act of “removing one hand.”
The Best Progression Steps for Mastering the One-Arm Handstand
1. Weight Shifts
That's the absolute foundation.
Get into a Handstand against a wall, then gently shift your weight to one hand, then to the other.
The goal is to sense when one hand is bearing more weight.
👉 Do 3 to 4 sets of 8 to 12 controlled transfers.
2. Shoulder Taps
Once your transfers are cleaner, add the shoulder taps.
From your Handstand, lightly touch one shoulder with the opposite hand, then put your hand back down.
This exercise teaches you how to:
-
Lift one hand
-
Stabilize the supporting shoulder
-
Limit pelvic rotations
-
Stay in control under fatigue
👉 Start by doing it against a wall, then move on to doing it without support.
3. Finger Exercises
Keeping your fingertips on the surface is an excellent step before completely removing your hand.
Instead of placing your whole hand on the ground, gradually reduce the support:
-
Full hand
-
Fingertips
-
Two fingers
-
A finger
-
Hand Lifted
👉 This progression is perfect for learning how to balance on one hand without suddenly losing your balance.
4. The straddle position
The straddle position, with your legs spread apart, makes the One-Arm Handstand easier.
It helps slow down imbalances and improve pelvic control.
👉 If you're just starting out with this move, almost always begin in a straddle position before trying the closed-leg version.
Progression: One-Arm Handstand
| Level | Exercise | Objective |
|---|---|---|
| Base | Handstand | Strengthen the position |
| Intermediate | Weight Transfers | Learning to Shift Your Center of Gravity |
| Intermediate+ | Shoulder Taps | Lift one hand briefly |
| Advanced | Fingertips Hold | Reduce the support from the secondary hand |
| Very advanced | One-Arm Wall Assist | Hold for a few seconds |
| Expert | One-Arm Handstand | Stabilize without assistance |
👉 Don't try to rush it. The One-Arm Handstand is a skill that takes time to develop.
The Importance of Grip
In a one-arm Handstand, your supporting hand does all the work.
Your fingers are constantly used to correct your balance.
They brake, push, adjust, and stabilize your body.
👉 If your hand slips, you'll immediately lose control.
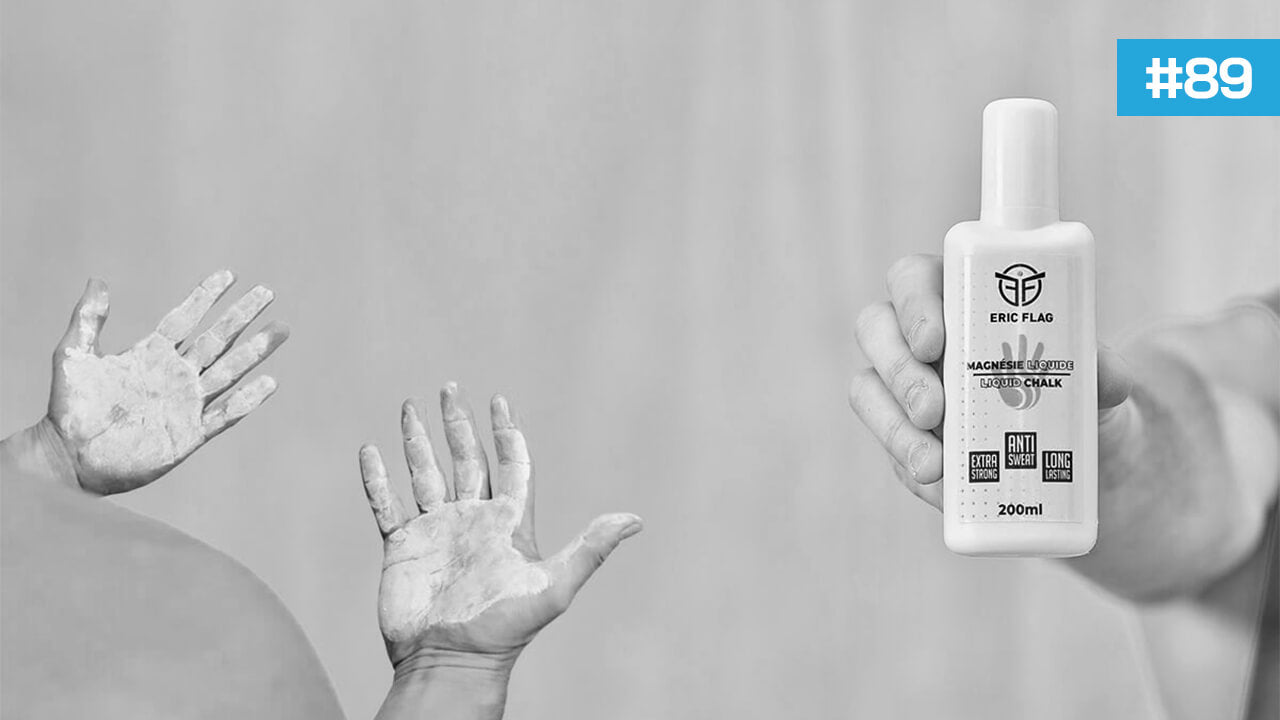
That's where grip tape and liquid chalk can really help, especially if you're working out on parallel bars or if your hands sweat a lot.
Grip Tape and Liquid Chalk: Are They Helpful for Improving Your Skills?

The Grip Tape is ideal if you're working on parallel bars, bars, or a surface that's too slippery.
It allows you to:
-
Better grip
-
Fewer slips
-
Greater comfort on your hand support
-
A more stable grip
It won't do the One-Arm Handstand for you, but it can help you feel more comfortable and confident.
The Liquid Chalk is perfect if your hands get sweaty during your workout.
It helps keep your hands drier, which is very useful during long sessions or repeated attempts.
👉 If the problem is with the grip surface, choose Grip Tape.
👉 If the problem is with your hands, choose Liquid Chalk.
If you want maximum grip, combine the two.
5 Mistakes to Avoid
1. Raising your hand too soon
If you don't control your weight transfer, you'll just fall to the side.
👉 Start by working on your transitions and fingertips.
2. Let your shoulders drop
The supporting shoulder must remain engaged from start to finish.
👉 Remember to push down on the floor as hard as you can.
3. Rotate the pelvis
Your pelvis tends to open up as soon as you shift your weight to one hand.
👉 Keep your abs and glutes engaged.
4. Neglecting the wrists
The One-Arm Handstand puts a lot of strain on your wrists.
👉 Warm them up thoroughly before each session and use wrist guards if necessary.
5. Practice on a slippery surface
Poor grip can undermine your confidence and limit your progress.
👉 Use a clean, stable surface, and grip tape or liquid chalk if needed.
FAQ: One-Arm Handstand
Do You Need to Master the Handstand Before Attempting the One-Arm Handstand?
Yes. A solid Handstand is essential before you start seriously working on the One-Arm Handstand.
Does the One-Arm Handstand Mainly Require Strength?
No. Strength is important, but technique, alignment, and weight transfer are even more essential.
Should you practice on the floor or on parallel bars?
Both are possible. The floor allows for better use of your fingers, while the parallel bars can offer a more comfortable grip.
Is grip tape useful on parallel bars?
Yes, especially if the surface is smooth or if you want more comfort and stability for your hands.
Is Liquid Chalk Useful?
Yes, if your hands get sweaty or if your grip becomes less secure during long sessions.
Conclusion
The One-Arm Handstand is an advanced move, but it's achievable with patience and the right approach.
👉 Grip tape and liquid chalk can help you feel more comfortable, stable, and confident during your workouts.
But the most important thing is consistency.
You can't force the One-Arm Handstand.
You build it little by little, until one day a single hand is enough to keep you balanced.
I hope you enjoyed this article.
Feel free to comment on it and share it if you did.
See you soon.
Eric Flag



Leave a comment
This site is protected by hCaptcha, and hCaptcha's Privacy Policy and Terms of Service apply.